Installing a spa in a deck or pit

Are you wondering about how to sink a spa or swim spa into the ground? Or are you wondering about the requirements for sinking a spa or swim spa in the ground? If your spa or swim spa will be installed into a deck or below ground in a pit, there are some things you need to be aware of. Learn more in this article

Spa installation in deck or pit

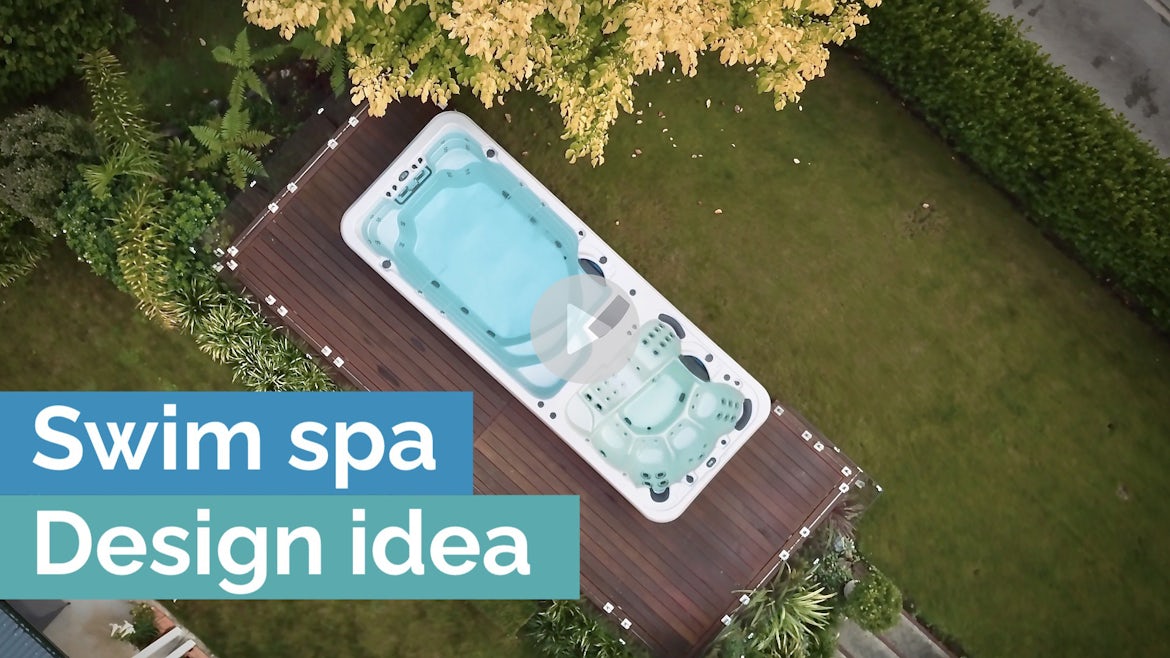
Building a spa or swim spa into timber decking or below ground in a pit, are two of the most common types of spa and swim spa installations.

Whether you choose to place your new spa or swim spa in a deck or in the ground, there are some things you need to know before starting your project.

Building a deck for a spa or swim spa

A deck can be an excellent location for your new spa or swim spa. You can install the spa on top of the deck or have it semi or fully built into the deck.

We’ve highlighted below the key things to discuss with your builder when designing and building a deck for a spa or swim spa.
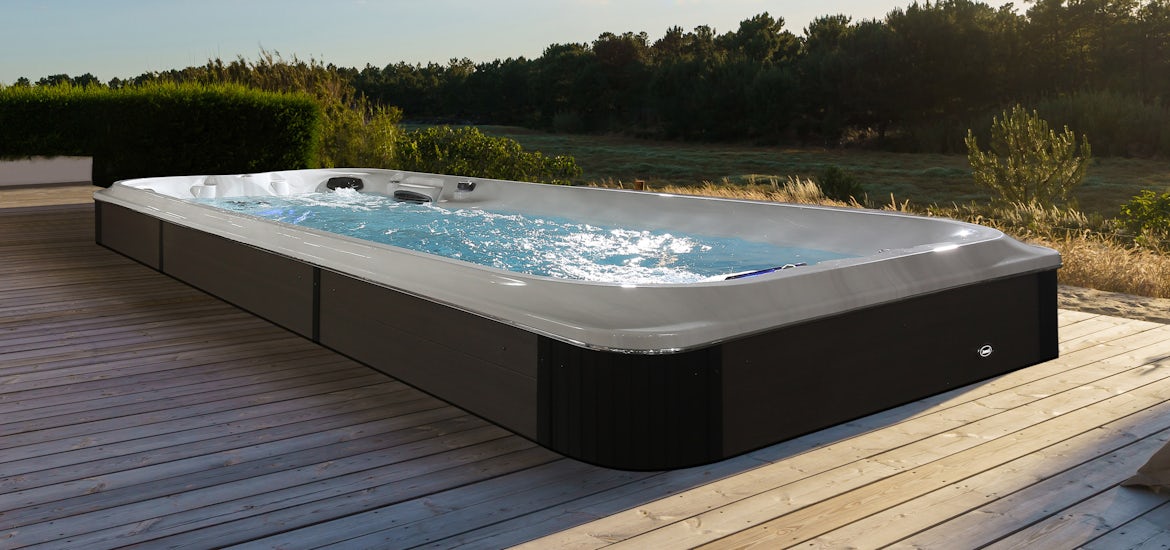
When it comes to decking–regardless of the size, layout or design–for safety and compliance purposes, Spa World requires that all decks built for spas or swim spas are designed and built to local building regulations by a registered builder.

Also, remember that each spa installation is different and so there may be different or additional requirements we haven’t mentioned. Always consult your builder.

Top 4 things to consider:

1. Install the spa before completing the build.

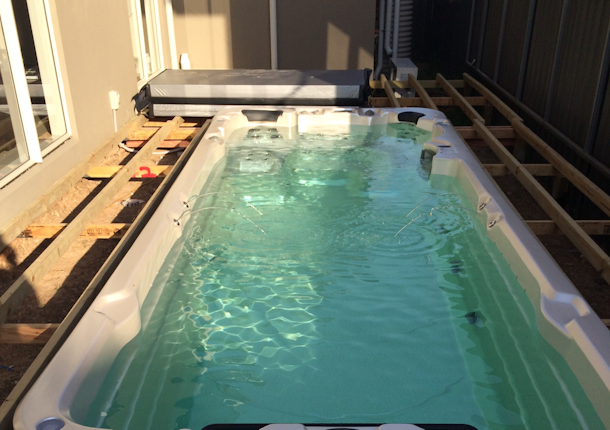
It is best to leave the top portion of the deck un-built before spa installation. It is much easier building the decking boards up to the spa than trying to lower the spa into a hole on delivery.

2. Test the spa before installation

During shipping and handling some of the components may have shifted. Please ensure the spa or swim spa is tested for at least 48 hours before installing any decking around your spa. Even though all units are tested in our factory, some transport or site handling damage may occur and we suggest you make sure the swim spa has no leaks and is operating correctly before finalising your installation.

3. Choose the right foundation for the spa height.

For the base or foundation, depending on how high you want your spa to sit out of the deck, you may choose to put it onto a concrete slab or you may need to build a smaller deck to sit the spa onto to get your desired height.

If you are building a small deck to sit the spa on, please ensure you have consulted with your builder or engineer on the design before building.

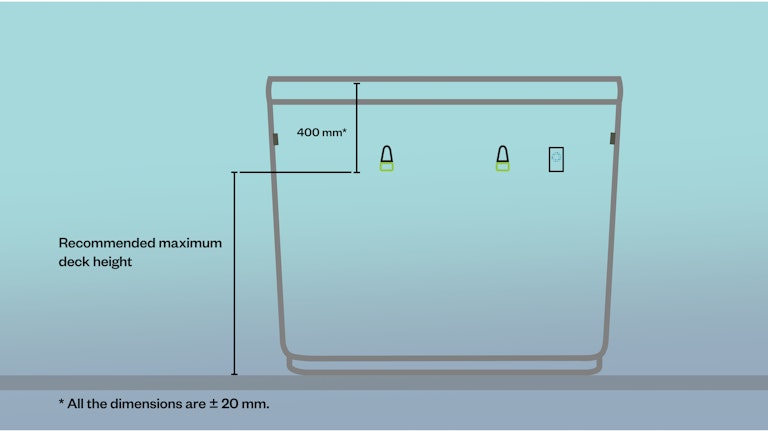
Swim spa in deck measurements:

4. Leave space between the decking and the lip of the spa.

We do not recommend running the deck boards flush with the underside of the spa shell.

Instead, we recommend that you position your spa to sit at least 400mm above the deck height to the top of the spa. This allows for safe entry and exit into the spa and most importantly, allows for the cover safety clips to be attached to the spa's cabinet.

If your spa shell is level with the deck you will need to install these clips onto the deck and they become a toe and trip hazard, typically ending with either a broken toe or broken clip.

Finishing the lip of the spa to the top of the deck is not recommended, primarily because the spas are hand-trimmed and we would never be able to provide you with an exact measurement for the shell to finish level with the deck.

Also, if you have any settlement in your foundations and the shell comes to rest onto the deck, it could cause structural damage to the shell that would not be covered by warranty.

Note: If you are decking up to the side of the spa, you may have to cut the door panels before the deck is installed. The door panels will need to be removed and cut below deck height by your builder so that the lower section can be removed for service access while the top section (above deck height) can remain fixed in place.

5. Make sure you can access the equipment

For serviceability, you will need to provide access to the spa’s equipment, electrics and plumbing.

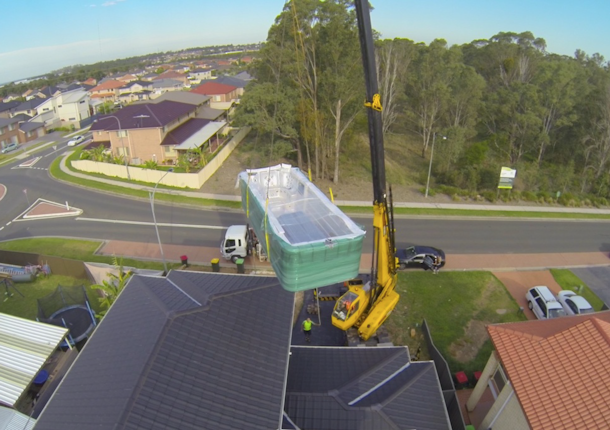
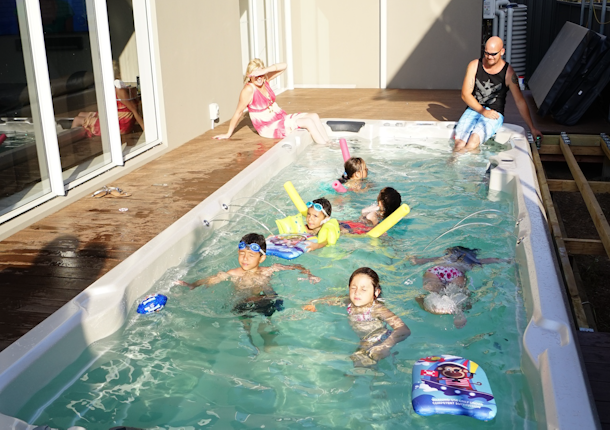
An example swim spa installation

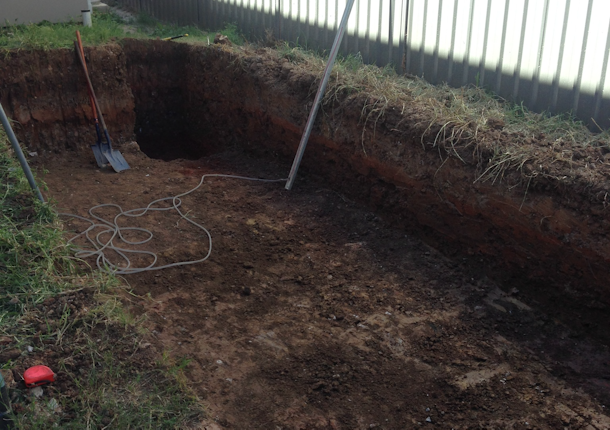
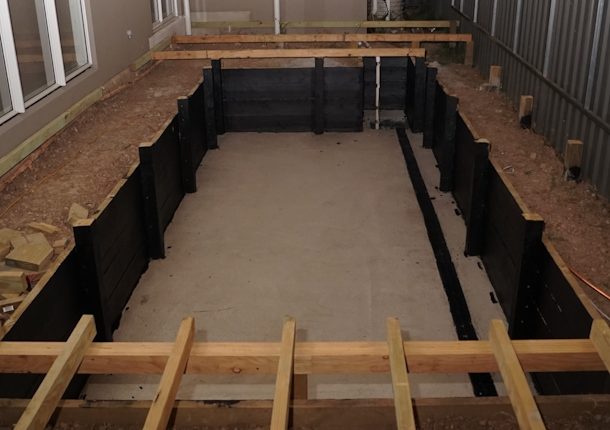
Sinking a spa or swim spa below ground in a pit

There are many considerations when installing a spa or swim spa below ground level.

Remember, before installing any spa or swim spa below ground – you must consult with your local builder, council or building certifier to determine the compliance requirements for this type of installation.

Can my spa or swim spa go in the ground?

Yes, however you need to consider the site and consider a number of steps to ensure that your spa will continue to work correctly and be maintained.

Here are some helpful tips:

  • Be sure to have enough space around the swim spa for any access purposes.
  • Ensure that all the controls, pumps, heaters and plumbing can be accessed through the panels under the spa.
  • It is critical that you allow for a drainage pit. A pit measuring 500mm x 500mm x 500mm is adequate. As an example, a 4 metres x 2.3 metres swim spa will need a hole size 5.5 metres x 3.3 metres as a minimum with another 1 metre x 1 metre hole for drainage.

Top 6 things to consider before you begin:

1. Excavation and disposal of the soil

You will need to ensure there is adequate access to your property for excavation equipment.

Make sure you do not excavate too close to buildings or structures as there may be a risk of undermining the foundations.

2. Soil types and testing

Check with your builder, local council, engineer or building certifier to confirm if a soil test is required.

Different soil types may have different requirements around engineering and design and more.

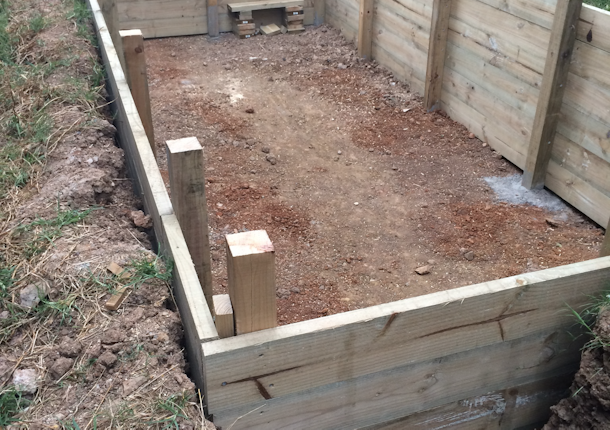
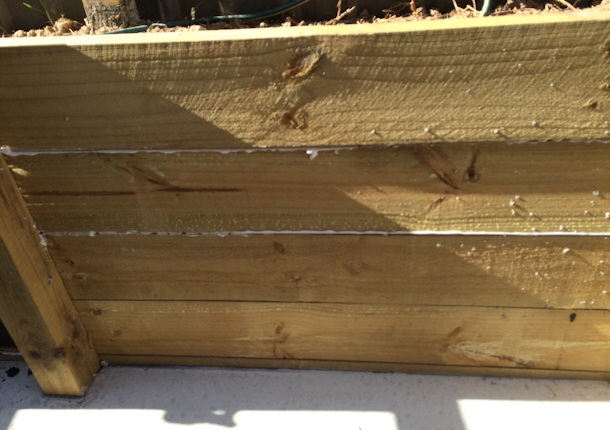
3. Retaining walls

Depending on the depth of your excavation and the required height of your retaining walls, engineering and local council permission may be required.

4. Drainage

Flooding is not covered under warranty so please read this section carefully.

Adequate drainage needs to be installed to prevent the spa equipment from being flooded and your warranty voided.

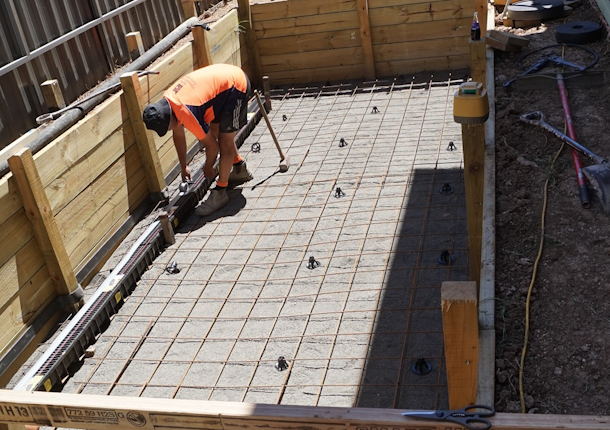
If your pit has retaining walls on four sides, then it will most likely need to have a mechanical drainage option installed.

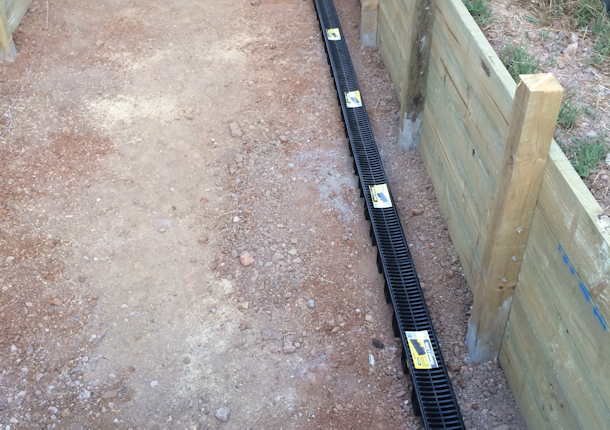
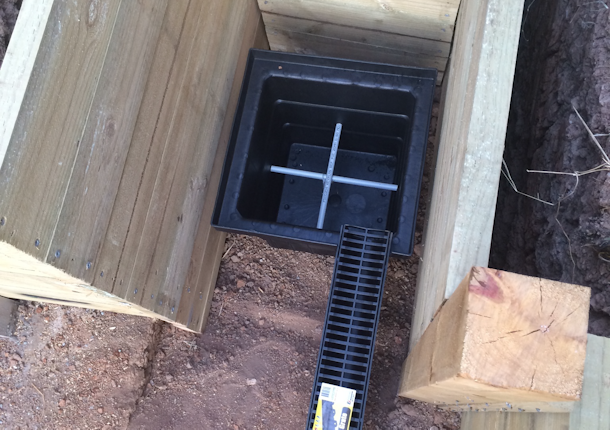
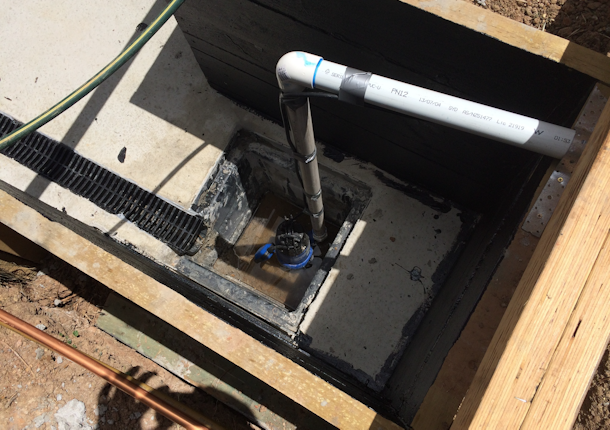
It is recommended that you install a number of strip drains in the pit slab directing water to a drainage pit with an automatic sump pump installed. This pump must not be connected to the same electrical circuit as the spa so that if the spa power circuit trips, the pump will still operate.

The water should pump to your household stormwater or sewer system. Check with your local council or building surveyor for the requirements of this connection.

A second drainage pit and pump should also be considered as a fail-safe against the primary sump pump failing, resulting in flooding of the pit and spas electrical equipment.

5. Equipment access

Make sure to consider the service access for your spa so you can easily repair or replace any parts or equipment. Without easy access to equipment, your service provider may have to remove the entire spa or swim spa for maintence and service.

6. Cutting Cabinet Panels

This applies to Pre-2024 Vortex models and all Fisher Spas and Swim Spas Note: This process should be done before the deck is built

  1. Determine the height at which the panel should be cut so that the join sits below the deck.
  2. Remove the affected panels and cut the cabinet panel horizontally (incl. Tees trips) with a circular saw.
  3. Reinstall cabinet panels.
  4. Additional screw may be required to fix the cabinet panel into position.

Need more help?

We hope this information has been helpful. If you have any questions or concerns about your spa or swim spa installation, please contact your Spa World concierge.

Five Star Trust Pilot Rating

We are proud that Spa World customers have given us a Five Star Trustpilot rating.